Sunday, 15 October 2017

T-34/76 Model 1943

Well from that catchy title it should not be hard to deduce what this post is about!

A Zvezda 1/72 snap fit T-34/76 Model 1943. It builds into a nice little model too. The finished build with added grab handles; the only thing I added to the kit. Well other than the wire for the radio antenna. The grab handles are 0.5mm brass wire.


The tracks have not been painted. They come in a black hard plastic and are very well detailed.

So this the finished kit in a basic green scheme. Following chipping, oil paint, pigment and enamel paint weathering.


The base is 2mm plasticard. Drilled to fit two 6mm magnets for storage. I put a layer of DAS putty over the top to add a bit of ground with sand and ballast for texture. Then airbrushed a couple of different earth colours, washes and drybrushed. I decided to use just flock for the grass...because I liked it as is.

Just to prove the turret does turn...


The decal is from Plastic Soldier Company.


That's it for now. More to follow soon.... 


Monday, 2 October 2017

Russian Izba. No 1

What can I say. Some terrain for the WW2 20mm, a Russian Izba.


The main model is from Pegasus Hobbies. Got mine off Amazon and contains two models in the box. This is the larger house and consists of nine parts. Easy to put together and I think well detailed.


The fence and outhouse are from Wills/Ratio railway scenery range, The veggies are from a company called JTT which I picked up from here Howard Scenic Supplies. The cabbages and broccoli models are probably big enough to be used for 28mm scenery. The rest is a mix of Gamers Grass tufts (These are my favourite grass tufts, have a good range ) and Silflor/MiniNatur  tufts, which should need no introduction. The tools are from FALLER railway scenery which I ordered from the same place as the JTT.


The only thing you don't get with the model house is a floor. So I made one from 1mm plasticard.


What more can I say. I've been a bit rough and ready with this model. But I think it looks okay. For the base earth I used Vallejo Brown Earth Texture.

It makes the job quick and easy.

That's it for now. More to follow soon....  


Monday, 18 September 2017

For the Motherland!!!

A return to my favourite period...WW2 Eastern Front and in 20mm no less. I real return to my youth!

So first up a Tank Rider Platoon


The figures are AB Figures/Fighting 15's. To be more specific they are AB Figures now part of Eureka (from Down Under) and are available from Fighting 15's in the UK. Very nice little figures and fun to paint.


They are based on Warbases one penny trays. Original bought for another project I decided to make use of them here. These ones did not have the hole for a magnet, so a quick ten minutes with the Dremel and 3mmx2mm magnets could be inserted into the base. The figures are mounted on 1p coins (obviously :-)).
 
  
Based for use with Chain of Command by Toofatlardies. Each squad consists of an NCO, LMG team and SMG team.


My sudden exuberance for all things magnet, meant it was an easy choice to use the MDF bases both to speed up movement on the games table and for ease of storage ( see earlier posts).


So we have three squads plus an officer. Intend to add some support weapons plus a rifle platoon. I've decided to concentrate my forces initially for the Summer of 1943 and just after.
 
That's it for now more to follow soon... 


Sunday, 13 August 2017

BT-7

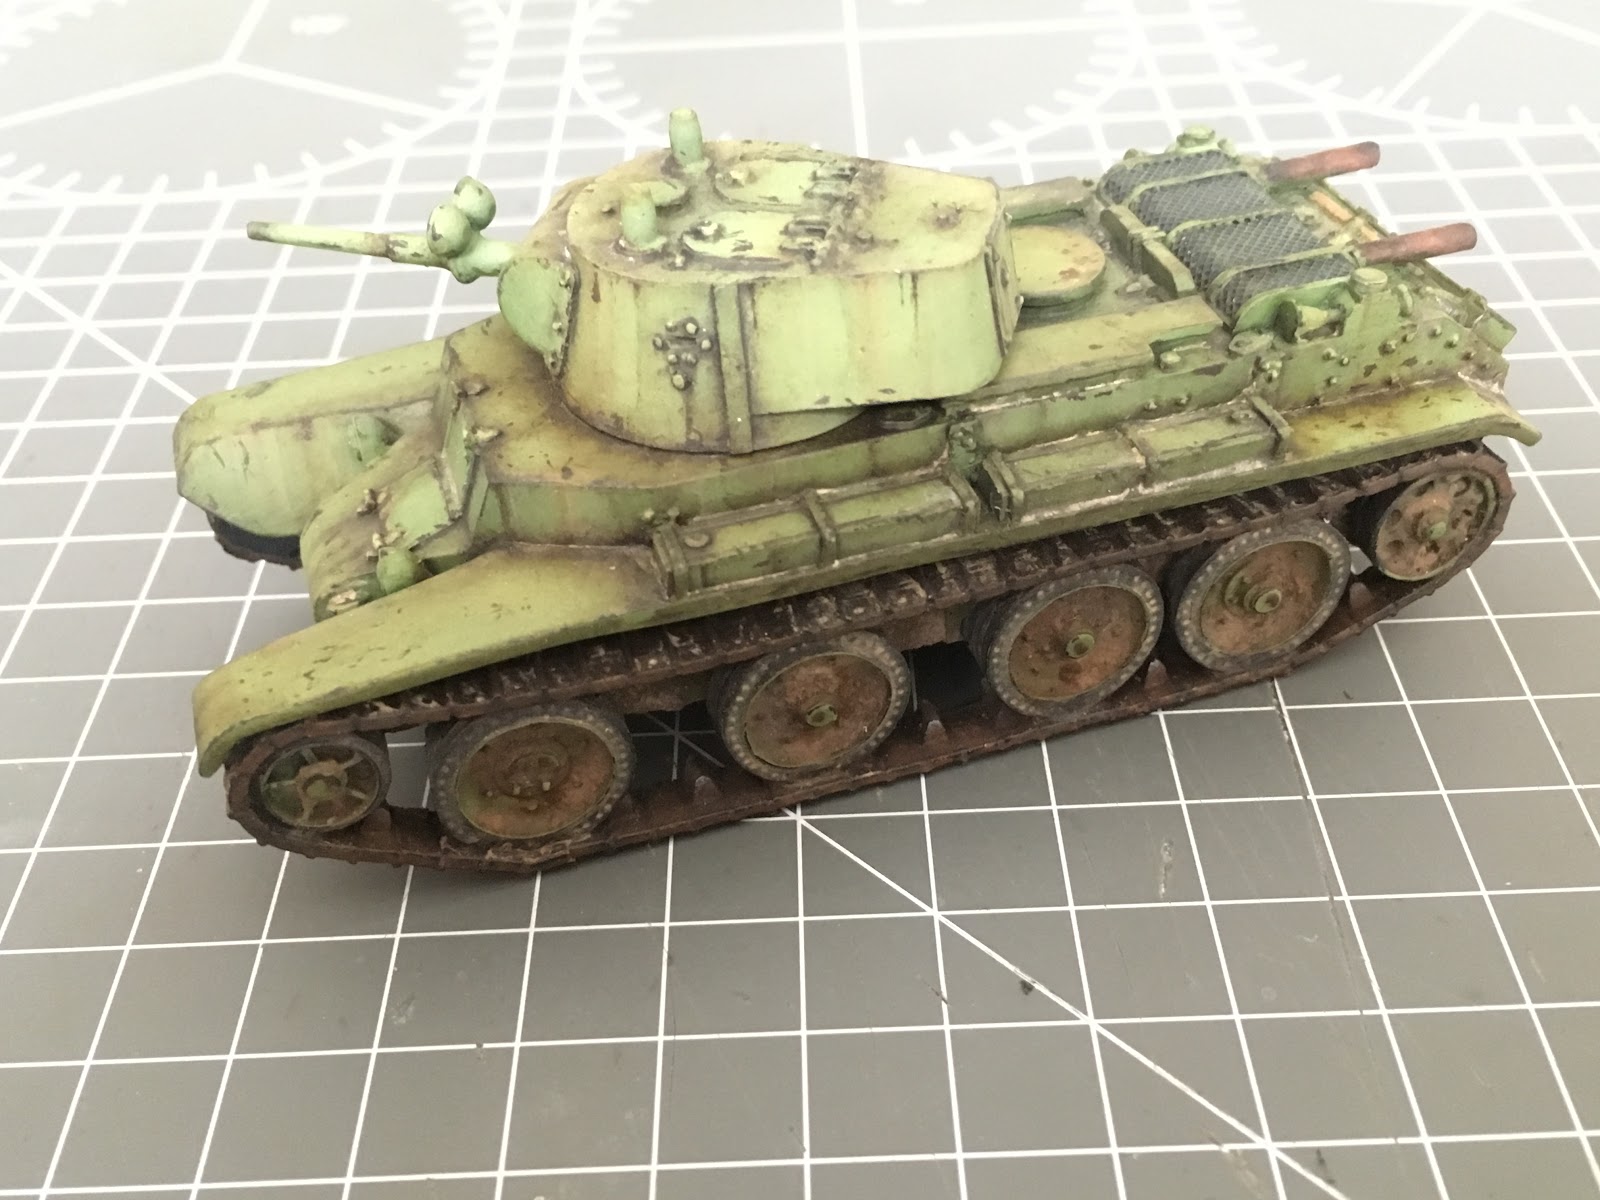
Been a while since last post, partly because I have got side tracked off the Aliens project and partly because I have spent the last two weeks finishing off this....


Soviet BT-7 light tank. The model is from Warlord Games and is a nice little kit. Also it's not actually mine. I have done it for a good wargaming Buddy; who I must offer an apology too for taking so long to finish it off.


The kit was given to me pre-built and undercoated in black. So I touched up the undercoat and painted it with Vallejo Air Camouflage Light Green 71006. This is what she looked like after the initial colour and chipping (using the hairspray method).


I decided I wanted to make her look like a old Russian warhorse, tired and worn. Hence the light green colour to represent too much time spent in the sun!


Then it was on with the weathering using enamel filters, enamel washes, oil paint and pigments. Slowly building the colours up to represent wear and tear.


Now I have to get her to the rightful owner and hope he is happy with the finished product.

That's it for now more to follow....  


Wednesday, 14 June 2017

The Grimes Family

Rick, Lori and Carl grimes from Mantic Games The Walking Dead. 


Hard plastic figures which are great to paint and come with integral base. I've tried to stick to the colours from the comics except for Lori who should be wearing a check shirt. But since I really detest painting checks I bombed out and painted her in a dark blue overshirt/jacket.


Being a fan of the comic and TV series it was a no brainer that I was going to have to take a big bite out this franchise. (sorry... terrible puns).

Having visited the Games Expo at beginning of June, and chatted to the guys on the Mantic stand (who are always very pleasant), I have been informed that the licence has been renewed and new releases should be straight to retail, no more Kickstarters. So good news everyone....

Also had a gander at the 4Ground, Walking Dead demo game. Again very nice people and some great  modern American scenery. My long term goal is to build a couple of terrain boards. Nice looking buildings etc. can be had from 4ground, Sarissa and TTcombat. There may be others but those are the one's which have caught my eye so far.

That's it for now more to follow soon...


Friday, 9 June 2017

Shout Out for The BigRedBat...

Storage! What to put your hard painted figures in to keep them safe and then where to store the storage boxes. Woe to the pressures of wargaming, how do we cope!

Well sometimes lovely people like Simon Miller akaTheBigRedBat come to the rescue. It was apparent that storing the AvP miniatures was going to be problematic mainly due the long curly Xenomorph tails. I sort of experimented with foam trays but was not overly confident that was the best solution.

Then I recalled that in the bigredbatshop, Simon sold pre-cut steel sheet to fit in a Really Useful 4L Box. Now I had already bought some (for another project), but I thought this could be just the ticket!

So a quick test proved even the longest tailed Xenomorph will fit in the 4L box. Like so...


So I ordered some 3mmx1mm magnets from first4magnets. Then using a 3mm bit on the Dremel put two holes into each base and here you go....


I little bit of tape on the drill bit to mark the right depth meant I was not going to go straight through the base, and an already painted base at that. Not sure if they require two magnets and I did not want to use my larger hand drill on resin bases, hence a larger drill bit for a larger magnet. 3mm was the largest drill bit I could get to fit in the chuck on the Dremel.

I'm fairly confident the 4L box will not hold the Queen or Royal Guard models standing upright, but a 1.5L Really Useful box should suffice.

I little bit of un-scientific shaking proved they were not going to move around the box. The most important thing is that now I have secure storage place for them.

So ordered some more steel sheet, this may just become my favourite storage method...we shall see.

That's if for now more to follow soon......
  
P.S. Simon also sells 3mmx2mm magnets if you want to take up the challenge and drill deeper into your resin bases.    


Wednesday, 31 May 2017

Habitat One Part5....and finished

Finally completed the first building for LV-537


Well it's almost finished. The base needs a little bit of work just to dirty it more. I decided that I did not like the internal wiring and pipes going nowhere so I added some 'junction boxes' to the outside. These were made from some off cuts of 2mm and 0.5 mm plasticard.


The living quarters. The bunk beds are from Ainsty Castings. The table, chairs and VDU are from Ainsty and EMA Model Supplies. The architectural furniture is 1/50th scale. All furniture has been glued in for ease of play and transport. The nice thing about this meant I did not have to paint the back of  items. Like so....


At the moment the back story for LV-537 is that it is a working colony. Perhaps mining or similar heavy industry. This means I can produce a dirty, grungy complex. So I''m taking inspiration from 'Hadleys Hope', the prison on Fury 361 and 'C' deck of the 'Nostromo'.


As you can see I have gone for a lived in look! It may be gathered from the 'posters' on the walls that I'm inferring this is male occupied habitat. Don't worry I will be adding in some female and family friendly accommodation. The lockers are also from Ainsty.


The other aspect I want to portray is the claustrophobic nature from the films. Particularly from the original 'Alien'. Don't want to many open fields of fire!

Next up will be a corridor section, which hopefully be slightly less work.

That's it for now more to follow soon.....